1. Get on the network
First, you’ll need to get on Urbit. You can quickly check out the network by downloading the Port application and booting up a comet–a temporary Urbit ID.
For long-term use, you’ll want to get a permanent Urbit ID and consider a running your urbit in the cloud or on a hosted service.
Read our Getting Started guide for details.
2. Finding applications
Urbit is still in its early stages, so you’ll need to join groups and browse around the network to discover new applications as they are being brought up.
However, we can get started a simple app from Urbit developer ~paldev.
3. Search for a Developer
Once you’re on the network, you’ll see and large tiled interface with a few applications installed and a search bar on the top of the page.
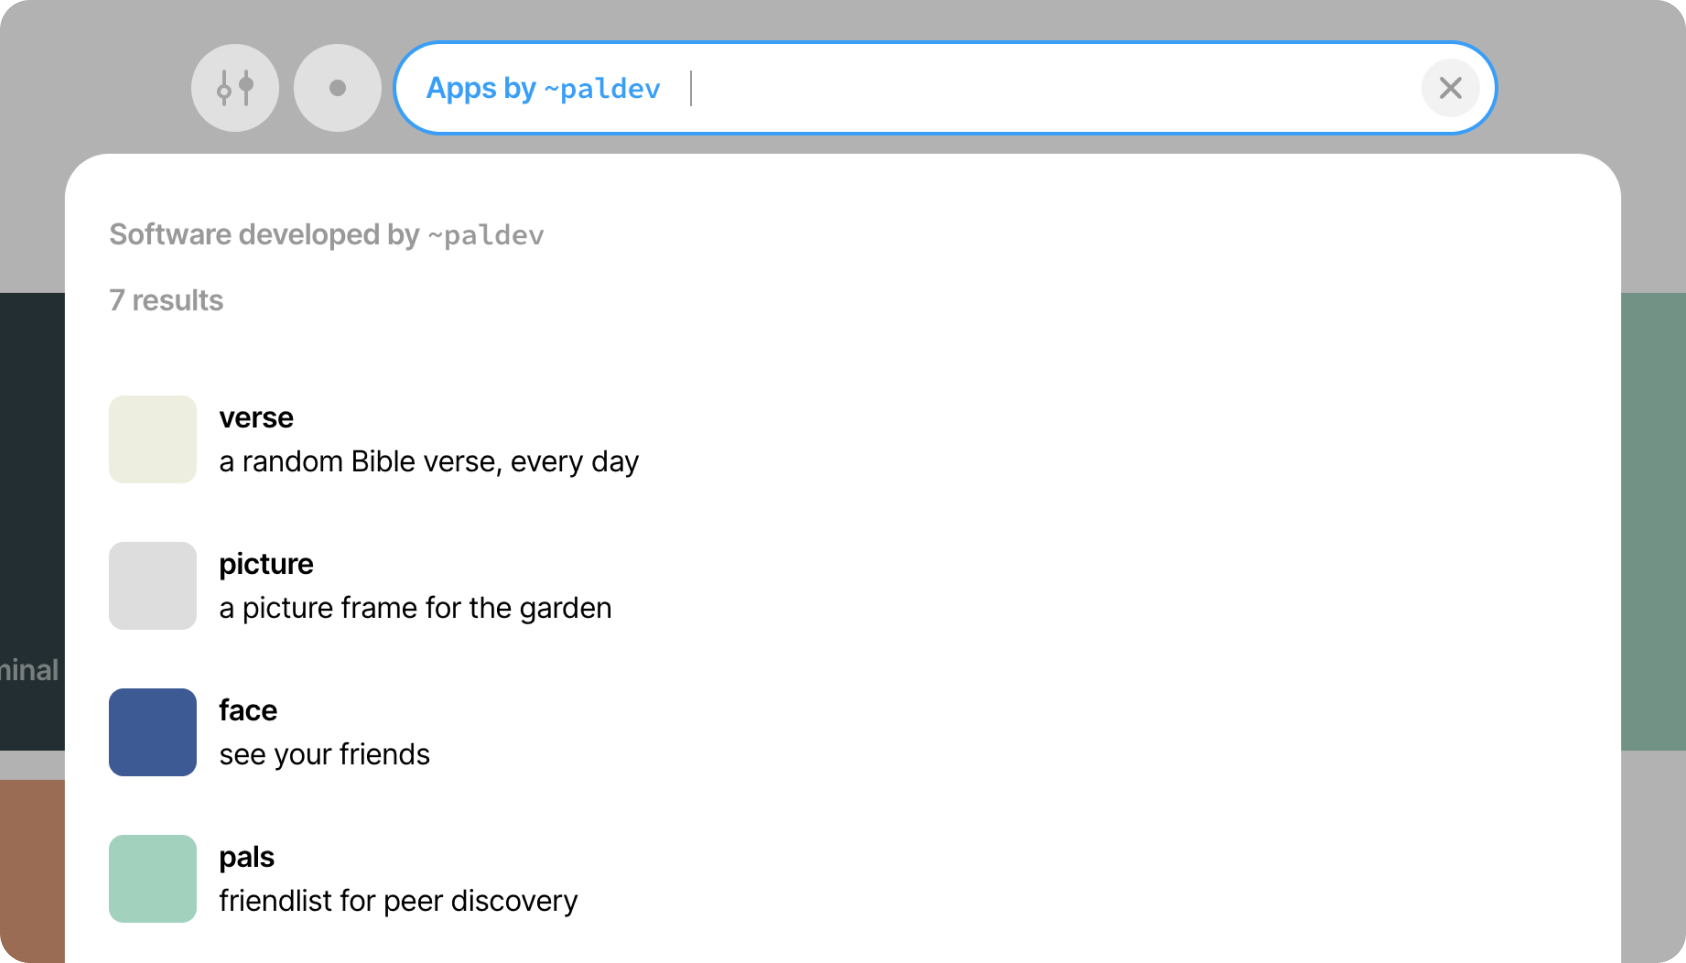
Click and the search bar and search for the software provider’s Urbit ID.
For example, to install the picture application, search for ~paldev and then click on the result for ~paldev to show his applications.

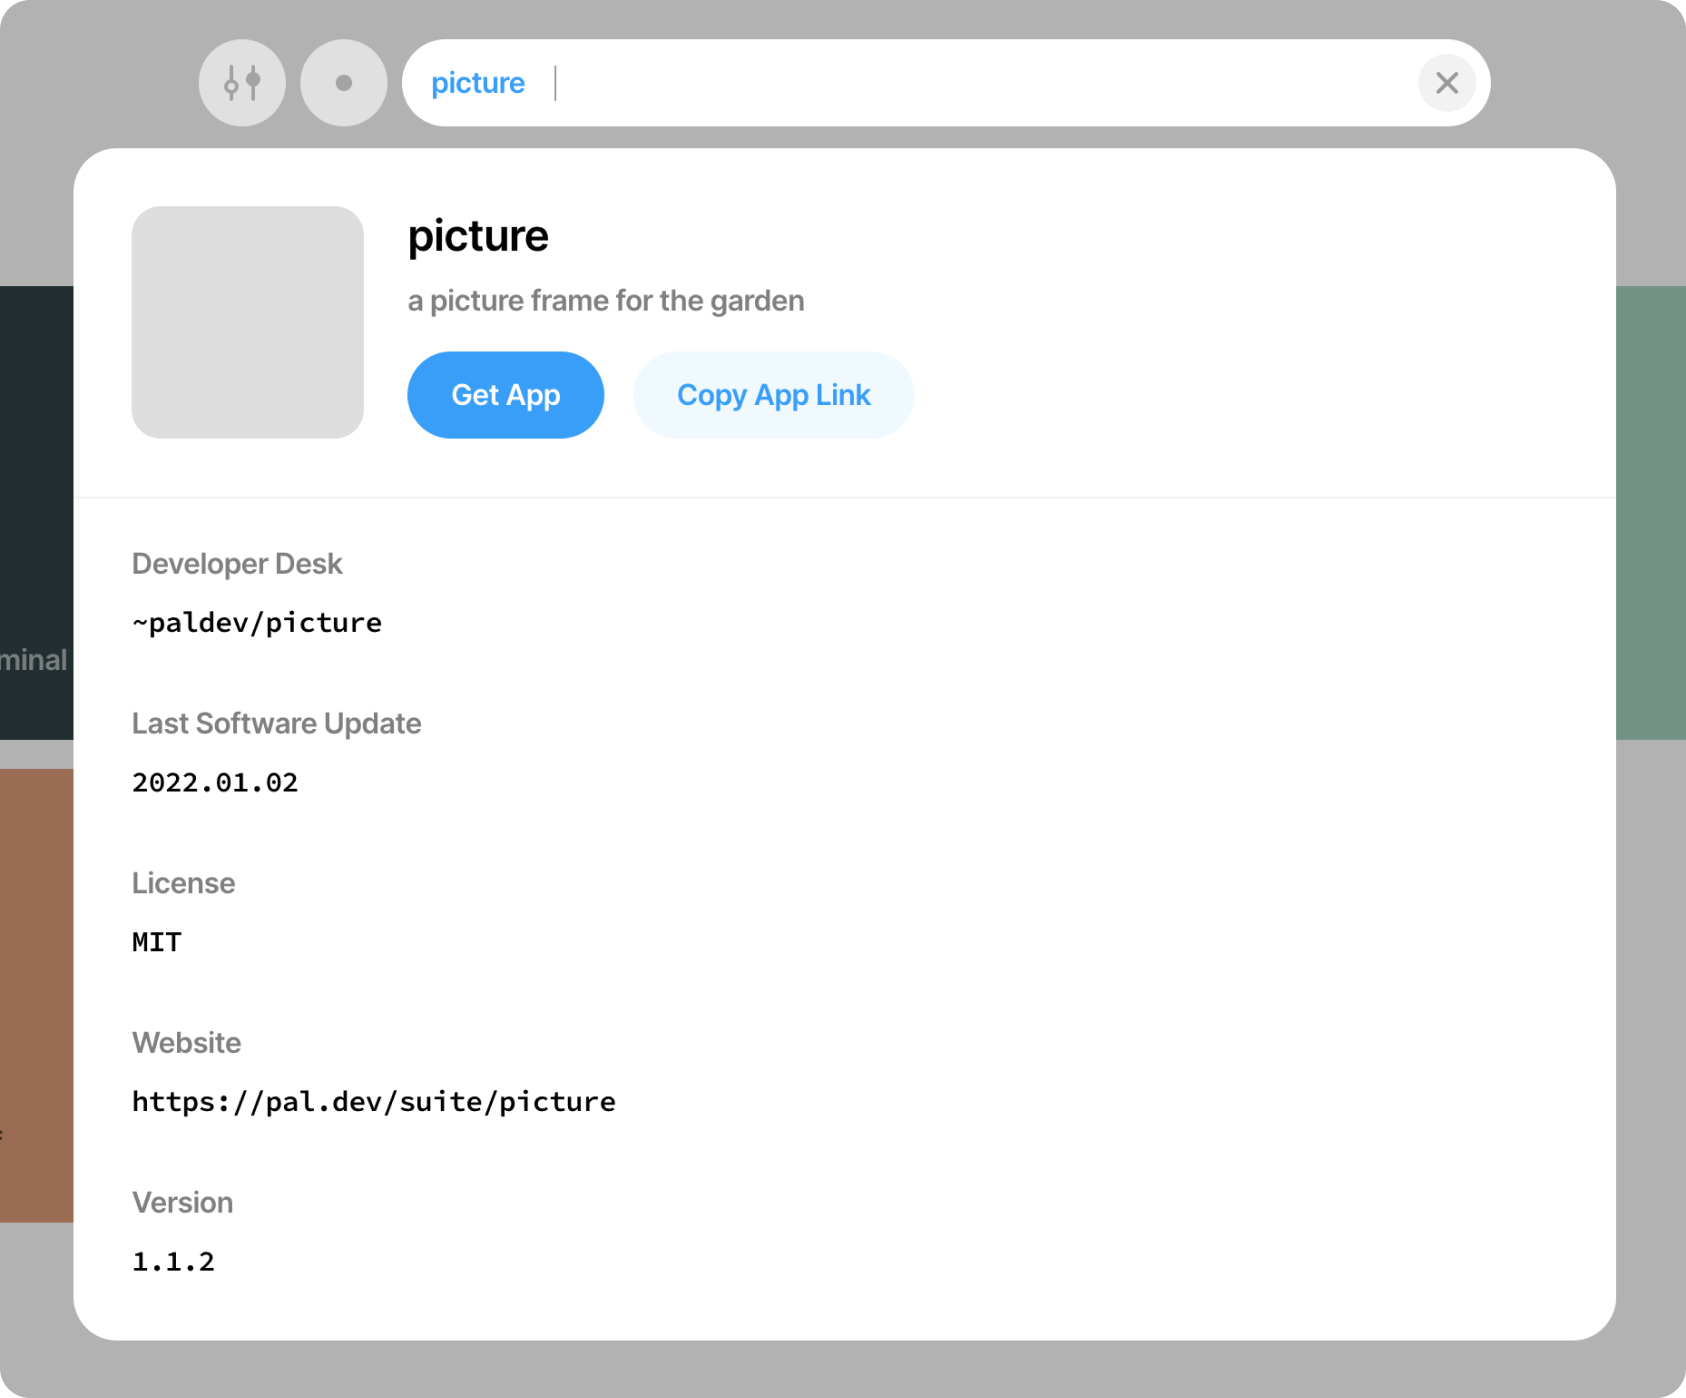
4. Get the Application
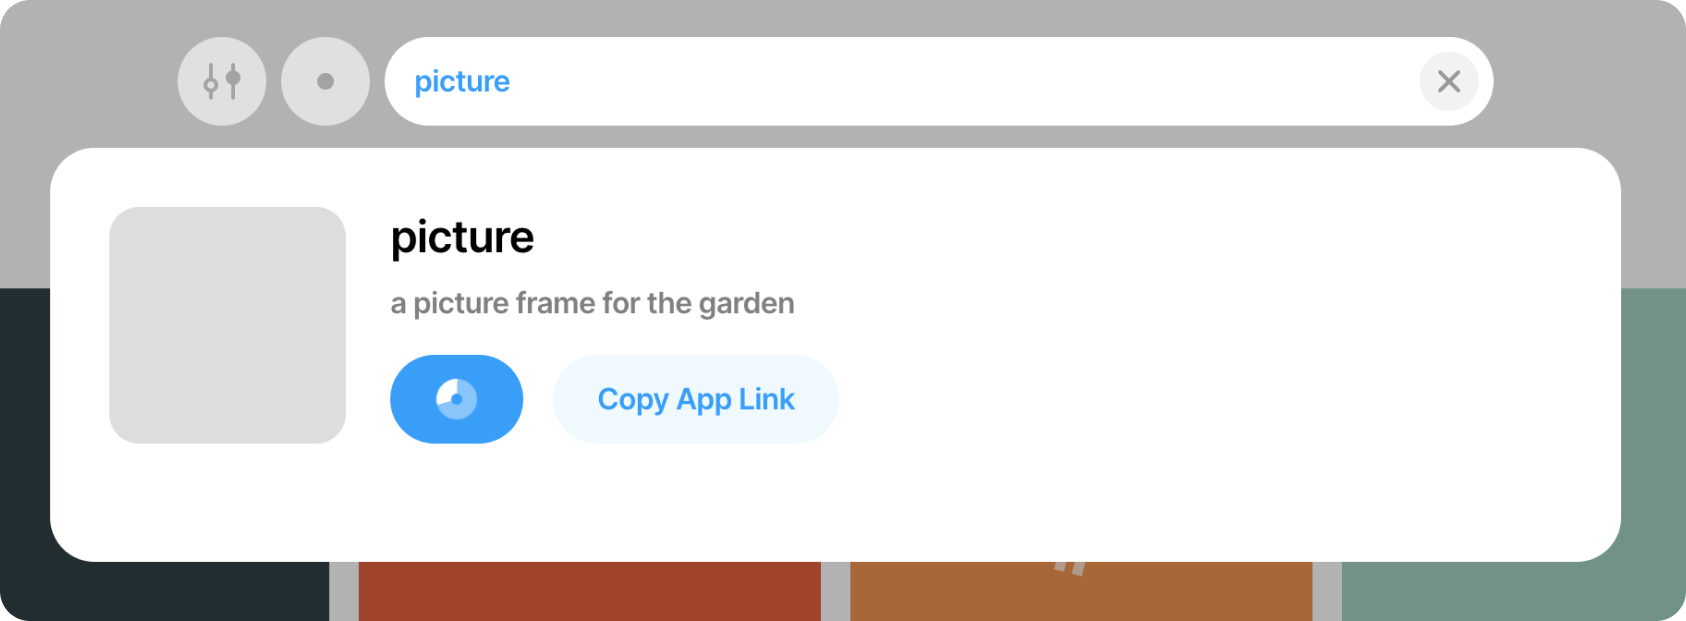
After selecting the “picture” app, a pane will open that shows some information about the application. Go ahead and click the “Get App” button, and confirm the following modal window to begin the installation process.
Soon you’ll have a new application tile on your home screen that will let you upload and display a picture to your home screen.