1. Get on the network
First, you’ll need to get on Urbit. You can quickly check out the network by downloading the Port application and booting up a comet–a temporary Urbit ID.
For long-term use, you’ll want to get a permanent Urbit ID and consider a running your urbit in the cloud or on a hosted service.
Read our Getting Started guide for details.
2. Open the Groups app
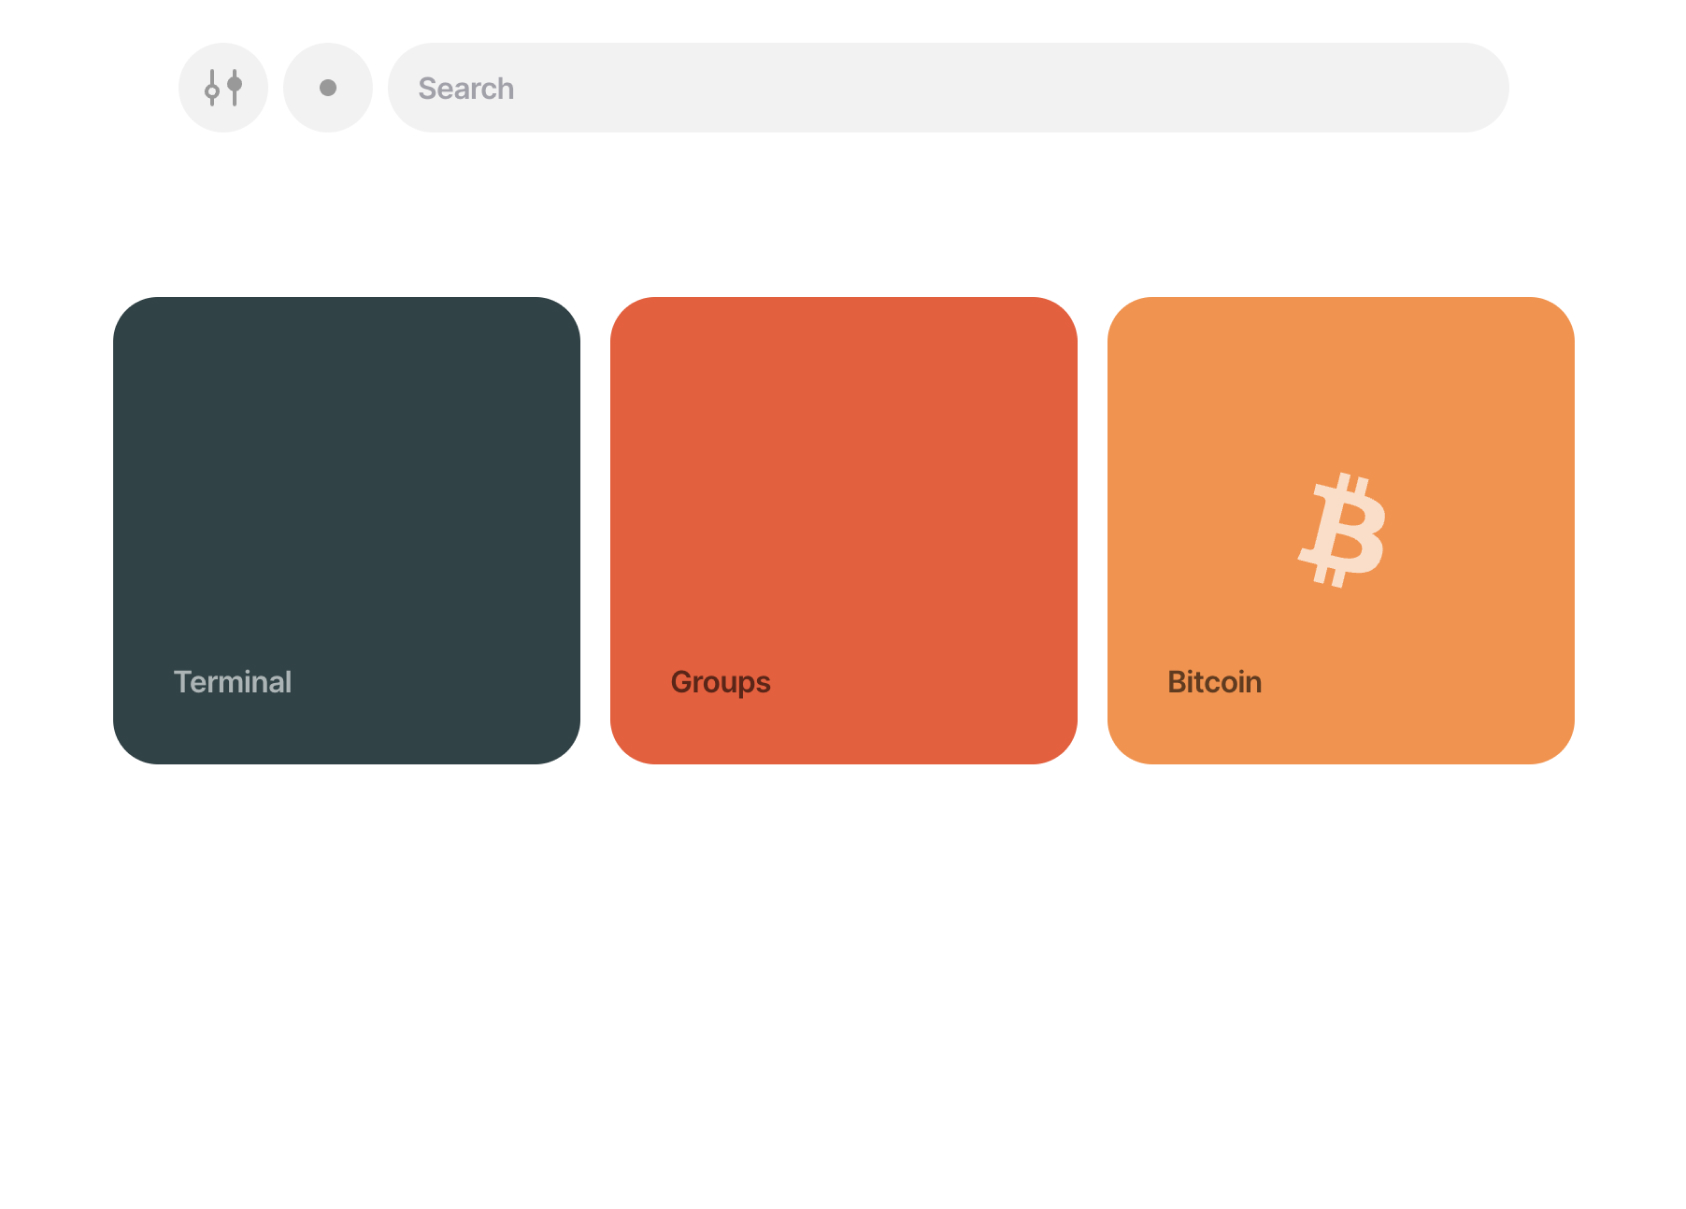
Once you’re on the network, you’ll see and large tiled interface with a few applications installed: Terminal, Groups, and Bitcoin. Click on Groups.
3. Enter the group shortcode
We’ll start by joining Urbit Community, a friendly introductory Urbit group.
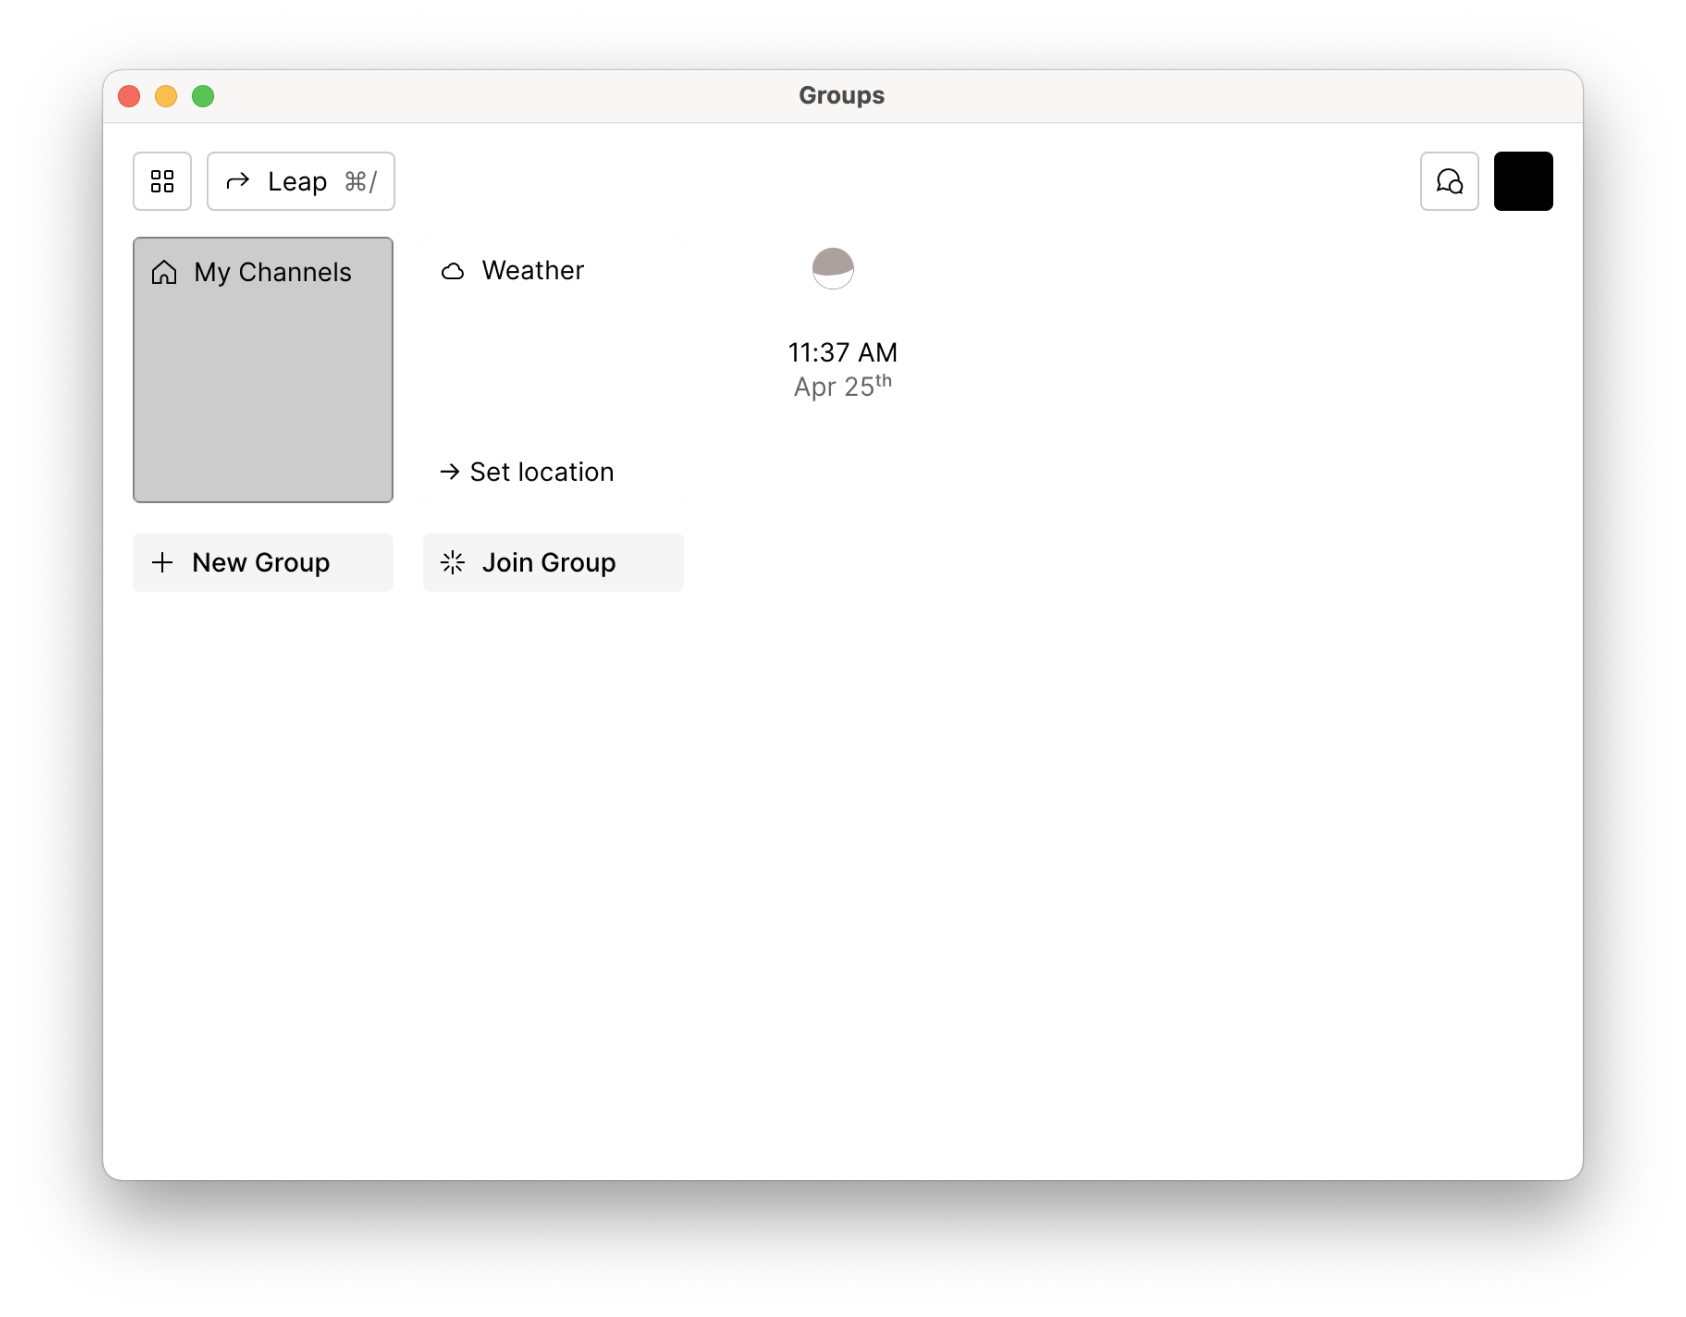
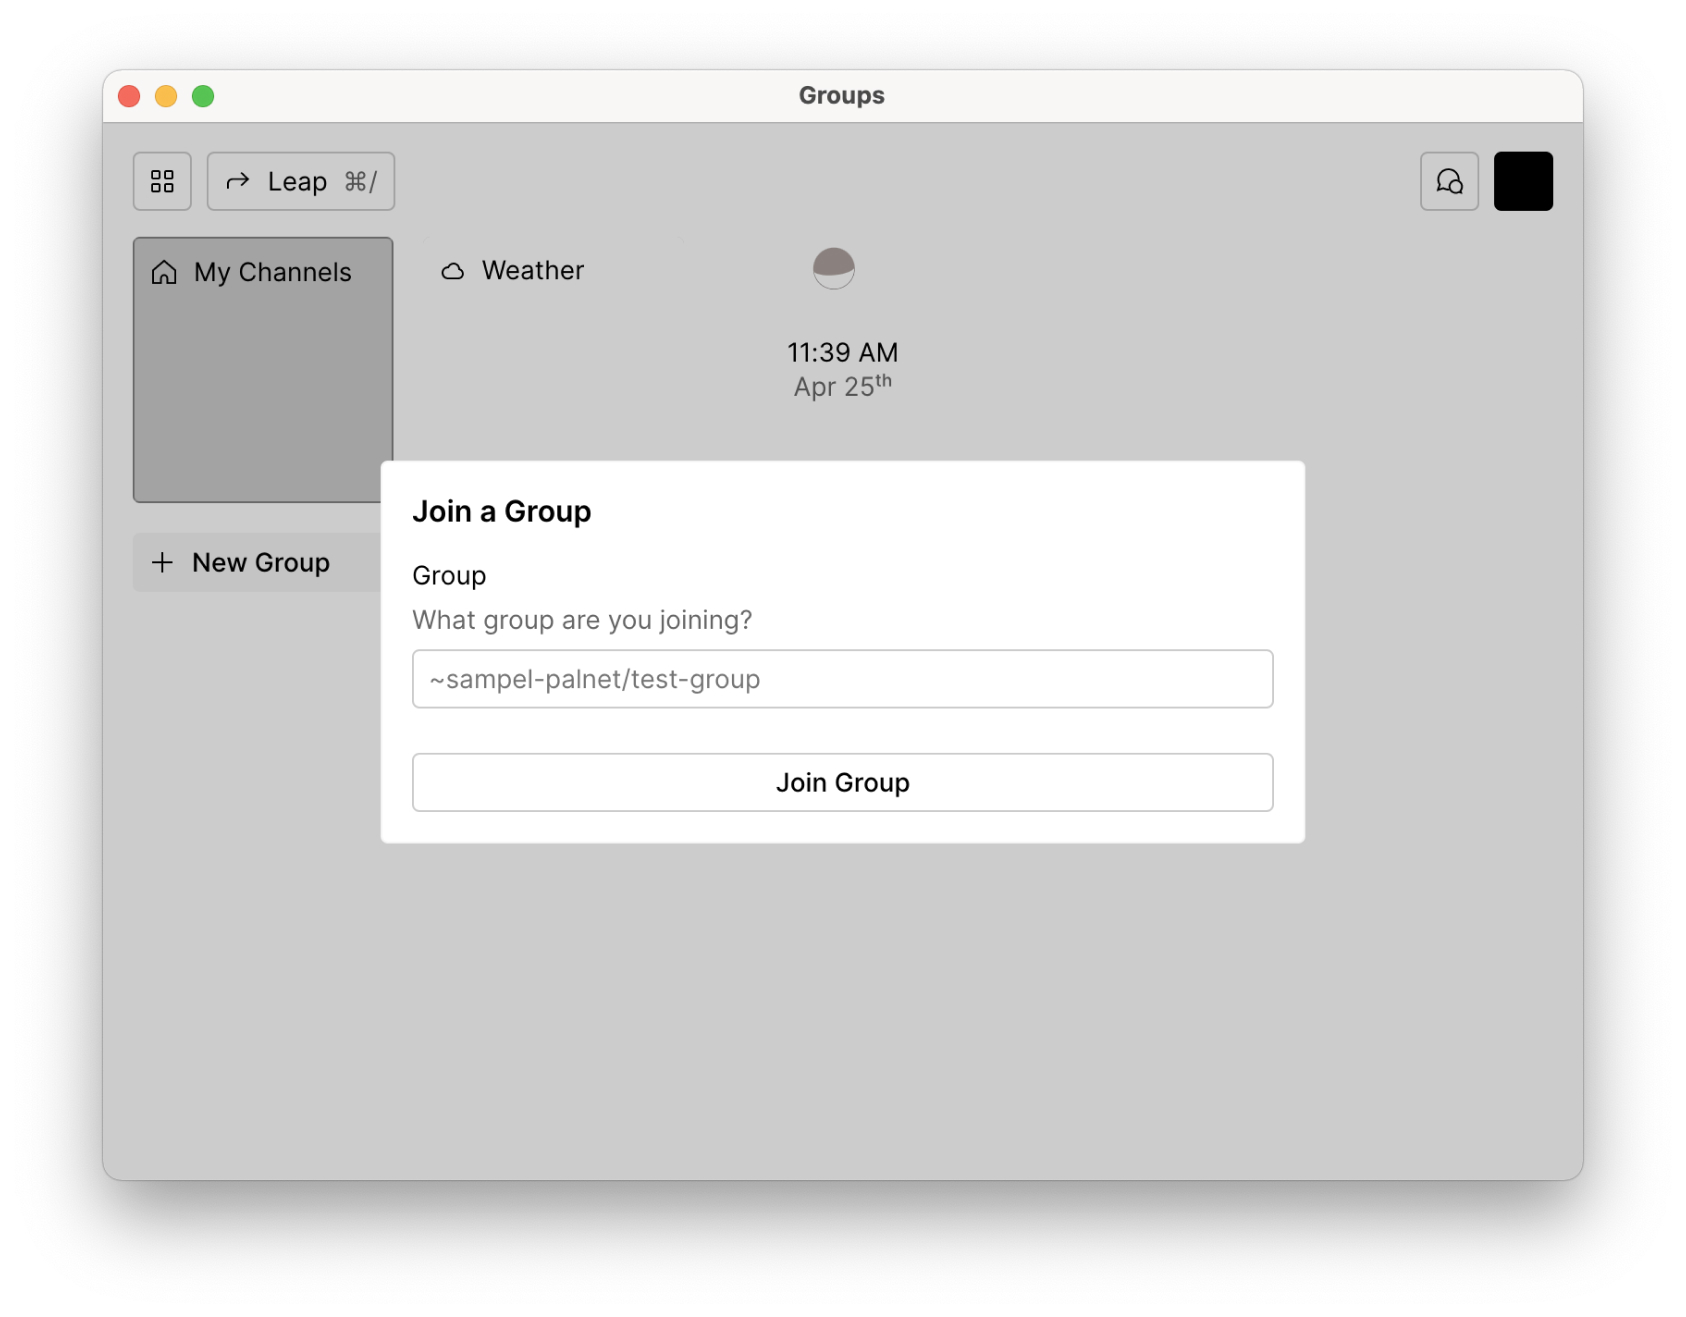
In the Groups app, click the “Join Group” button and enter ~bitbet-bolbel/urbit-community.
Then confirm by clicking with the second “Join Group” button.
4. Confirm join
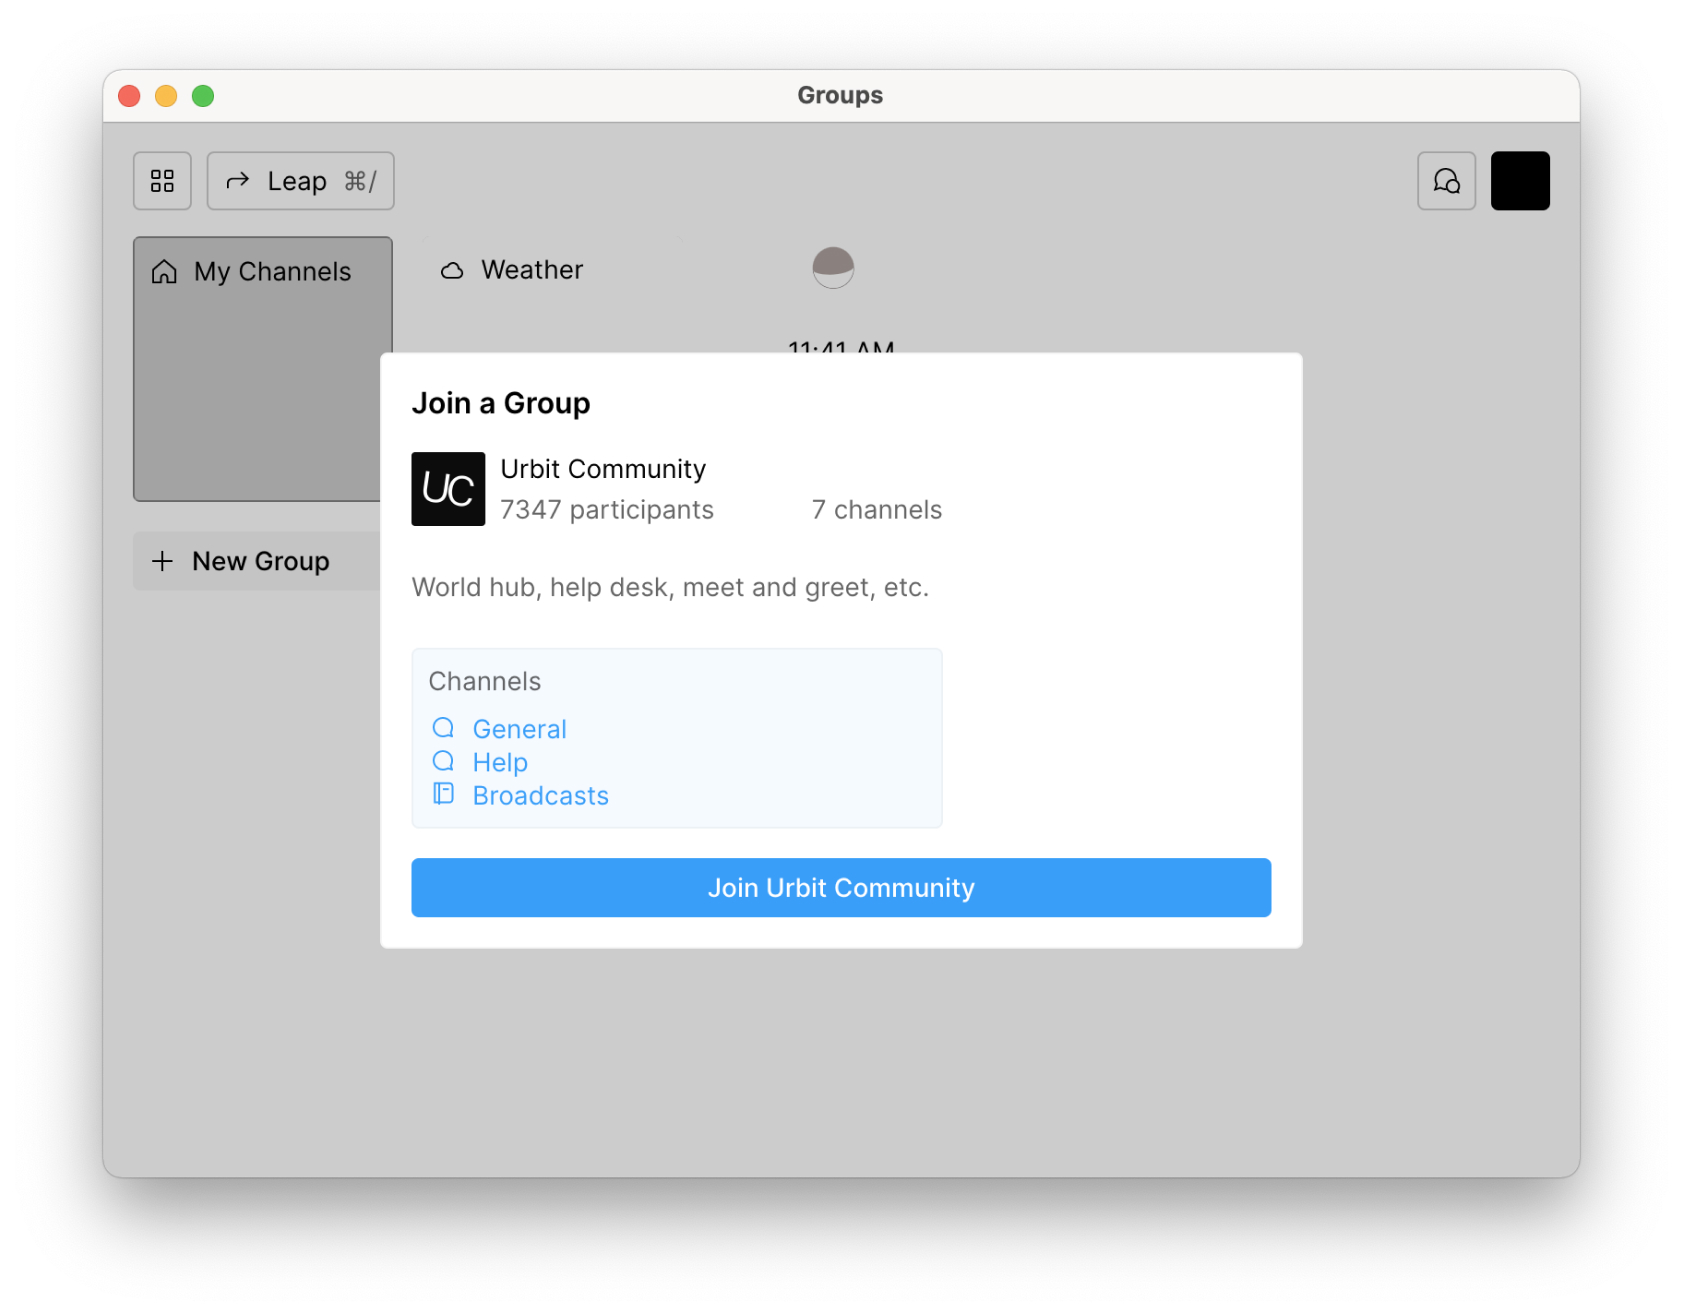
You should see a window that provides a description and group information. If not, check the spelling of the group name and address and try again.
Alternatively, the ship that is hosting the group may be offline.
Click "Join Urbit Community".
5. Join channels
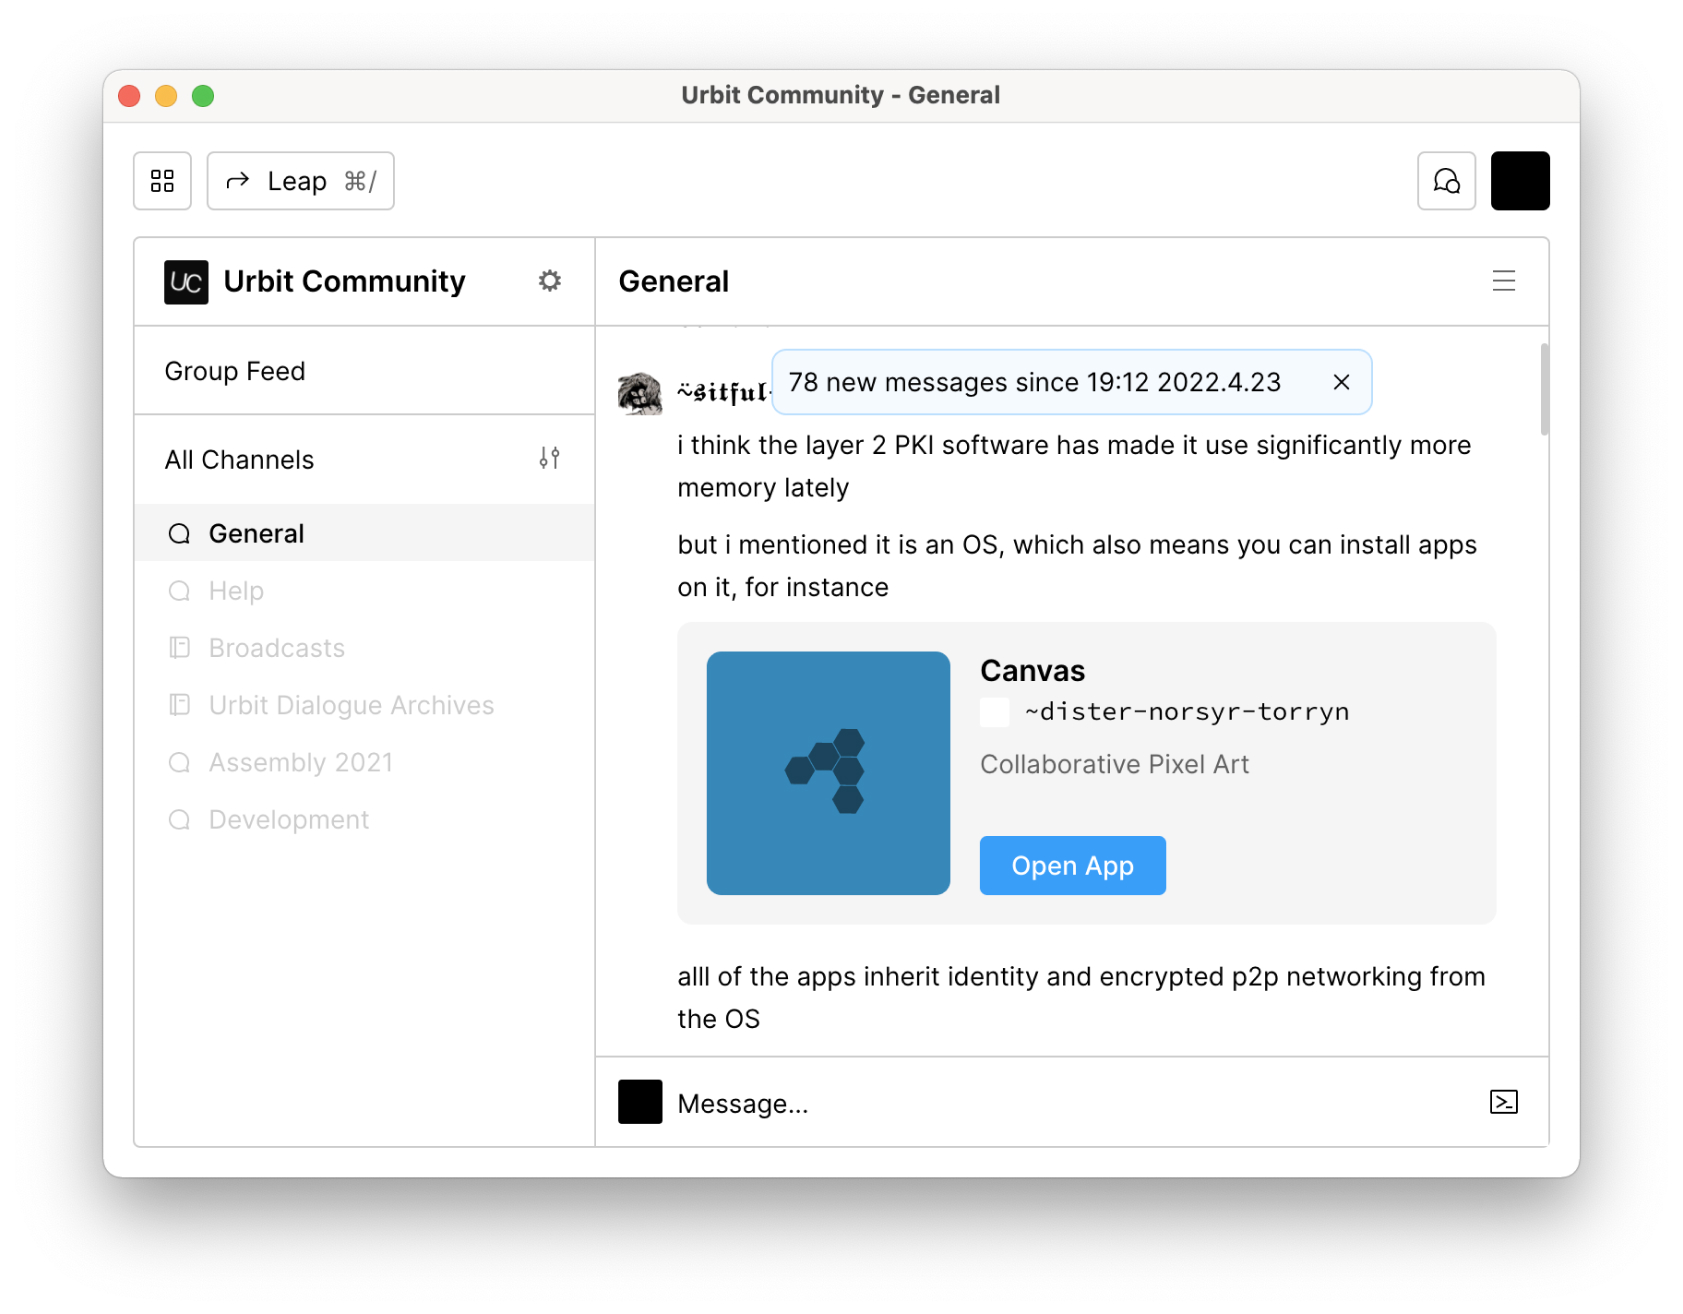
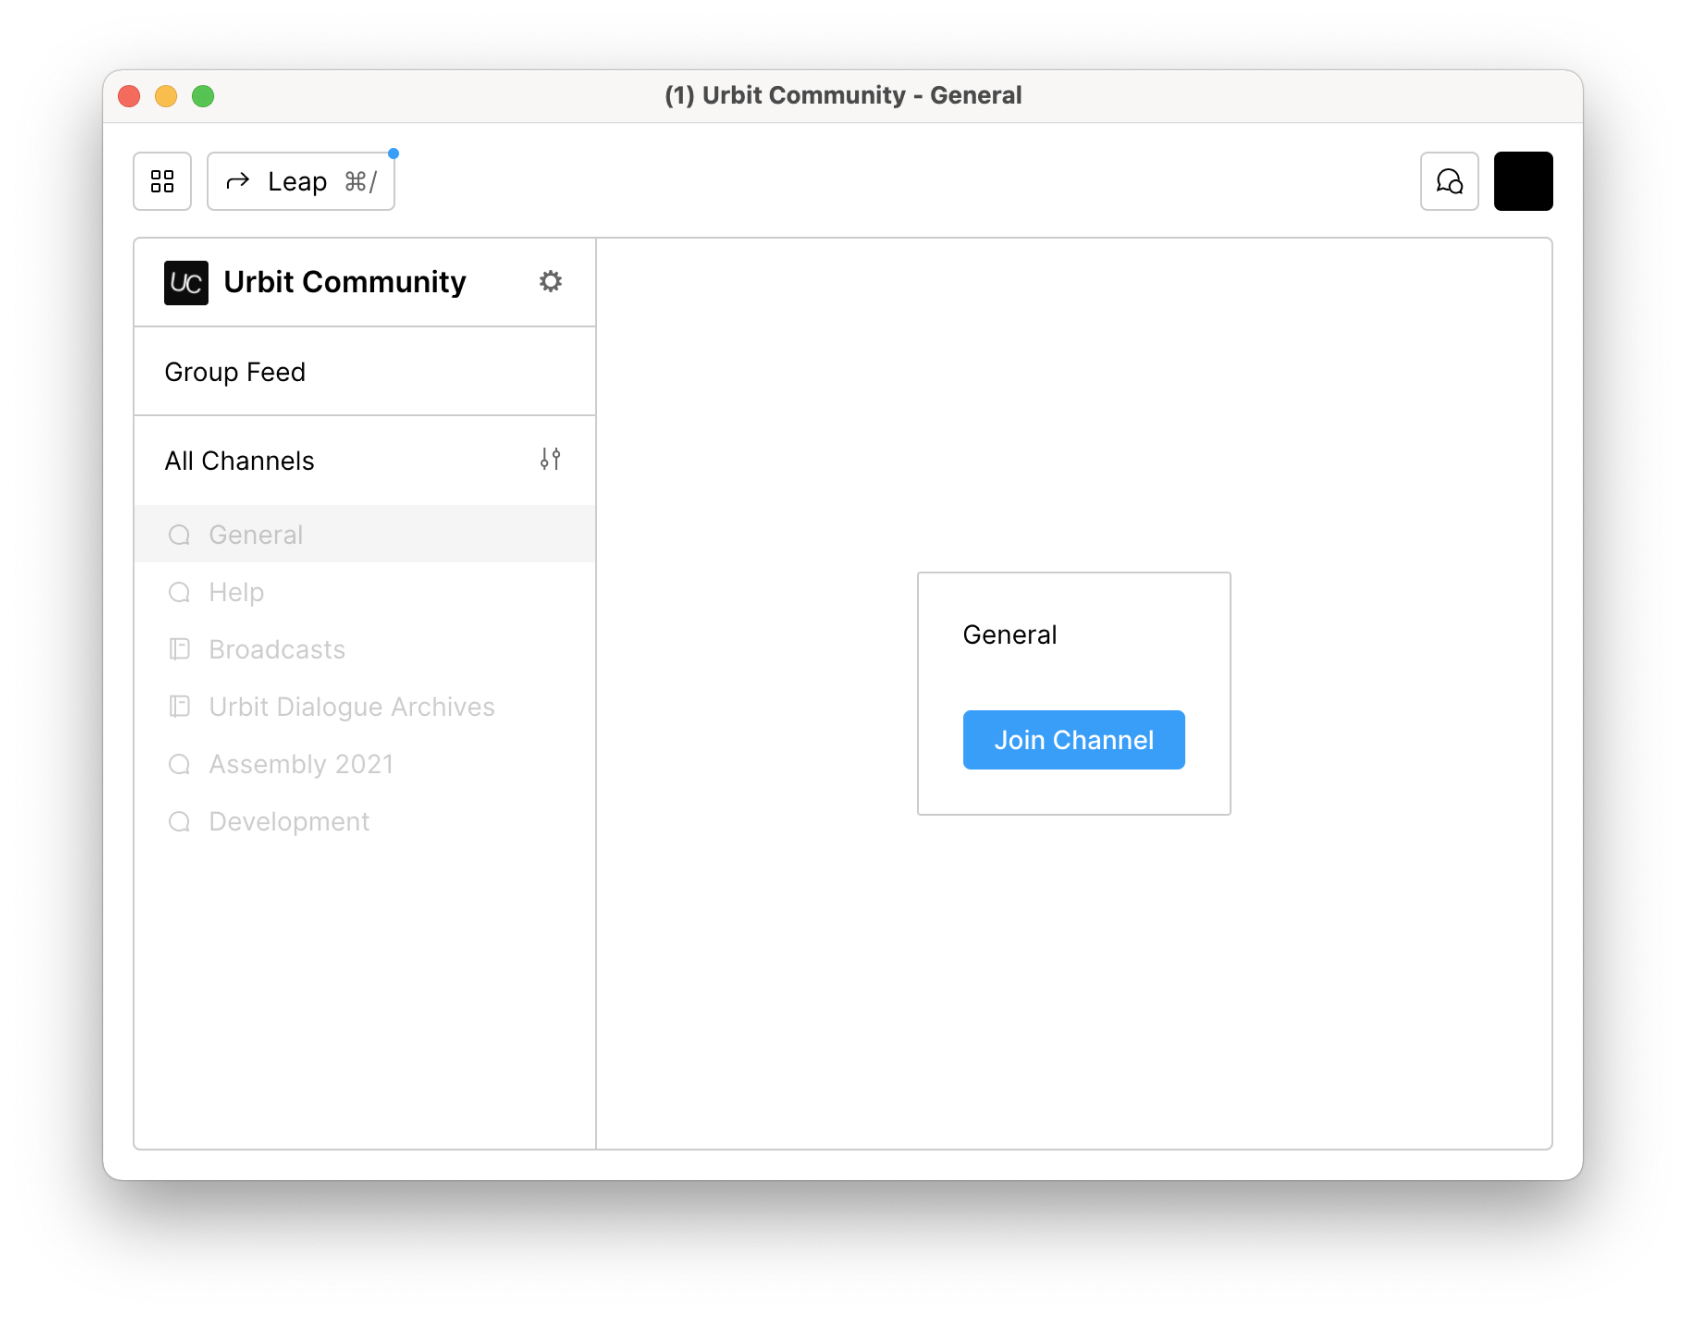
Congratulations, if you’re seeing a window like the one that appears below then you’ve joined the group!
There two types of channels in the left column: Chats, and Notebooks. The former is self-explanatory, while the latter is like a blog with optional comments.
To join a channel within the group, select a channel name from the left column, and click the Join Channel button.

6. Chat and post on the network
Congratulations you’re now a part of a peer-to-peer Urbit group. Be friendly, be curious, and have fun.
