1. Get yourself a planet
Here's some of the hard fun work we talked about earlier.
There are two ways to get a planet.
A) Ask nicely
Visit the instructions for launching a temporary comet with Port, get yourself onto the network, find a group, and start conversations with people with planets to spare. Many urbiters are also active on Twitter, where you can also ask around.
B) Buy a planet
There are many markets and individuals selling planets such as azimuth.shop, Networked Subject, and Wexpert Systems for Ethereum, Bitcoin, and USD respectively.
Layer 1 vs Layer 2 planet purchasing
The websites listed in B) sell Layer 2 (L2) planets -- which means they avoid Ethereum’s volatile and expensive gas fees. However, markets such as OpenSea and many Urbit-specific markets such as Urbitex sell planets directly on Ethereum L1, which means they are significantly more expensive.
For this reason we generally advise using a L2 planet market, unless you are interested in a very rare sigil or a particular planet name.
2. Claim your planet
An invitation to claim your planet comes in one of two forms.
The first is an email invitation with an Urbit ID and a Master Ticket.
The second, only recently made available through our L2 solution, is an activation code or a link to activate on Bridge, which can be thought of as an Urbit account management tool.
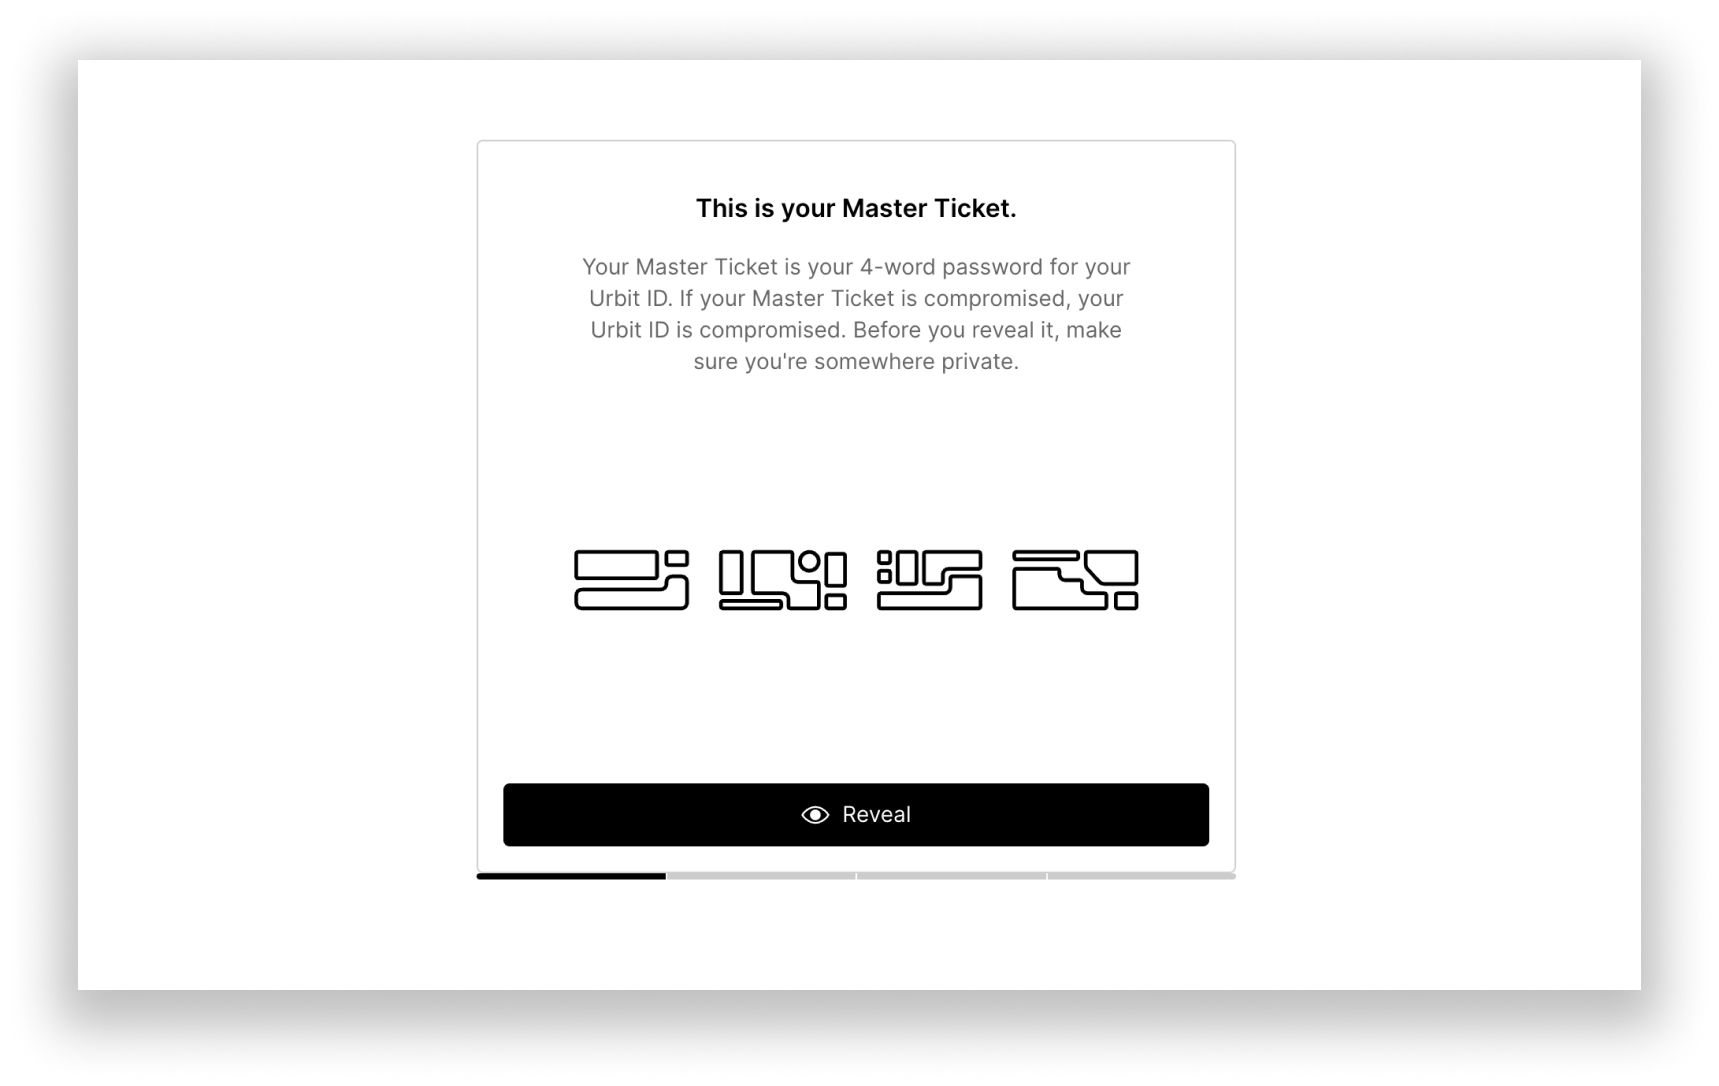
Clicking a link to activate a planet on Bridge will take you to page which will generate a Master Ticket for you. Follow the instructions which will prompt you to download a copy of your Passport - your Master Ticket, management proxy, and keyfile. Store your Master Ticket and management proxy somewhere safe, hold on to the keyfile, and proceed to the next step.
Claiming L1 planets
If you’ve purchased an L1 planet, you won’t need to claim it because you already own it as an NFT. Simply log into Bridge using Metamask or your wallet of choice.
3. Use Bridge to get your keyfile
Now that you have your planet, you can create your keyfile (eg. sample-palnet.key), which is the cryptographic signature required to encrypt and decrypt messages on Urbit's P2P network.
-
Claimed L2 planets
If you’ve claimed your L2 Planet then you should already have downloaded your Passport, which contains your Master Ticket and keyfile. -
Master Ticket holders
If you haven’t downloaded your Passport but have a Master Ticket, then you can simply log in with Bridge using the Master Ticket option with your planet name and Master Ticket password. Click the ID box near the bottom of the page to open the ID page, then click the Download Passport button, which contains your keyfile. -
L1 Planet Purchasers
Log in to Bridge with your Ethereum wallet using Metamask or the wallet of your choice with WalletConnect. Click the “OS” box on the bottom of the page to open the OS page, and then click the Download Keyfile button.
Install Urbit via the command line
These instructions assume you have access to a remote Linux system running on a VPS or cloud provider of your choice. If you want to run Urbit locally, whether on Linux, macOS, or Windows, click the appropriate section below.
You may also want to see the cloud hosting guide for additional details like setting your domain name and establishing a firewall, but for now, we'll focus on getting you set up as soon as possible.
Download Urbit with the following commands:
mkdir ~/urbit
cd ~/urbit
curl -JLO https://urbit.org/install/mac/latest
tar zxvf ./darwin.tgz --strip=1
~/urbit/urbit
mkdir ~/urbit
cd ~/urbit
wget --content-disposition https://urbit.org/install/linux64/latest
tar zxvf ./linux64.tgz --strip=1
~/urbit/urbit
Linux users may need to run this command in another terminal window to access your Urbit on port 80:
sudo apt-get install libcap2-bin
sudo setcap 'cap_net_bind_service=+ep' ~/urbit/urbit
mkdir %USERPROFILE%\urbit
cd %USERPROFILE%\urbit
curl -JLO https://urbit.org/install/windows/latest
tar zxvf .\windows.tgz --strip=1
%USERPROFILE%\urbit\urbit
Windows 10 build 17063 and later includes the familiar
curlandtarcommand-line tools.
Next, transfer your-keyfile.key to your server using scp or an FTP client, then move it to the ~/urbit directory you created in the last step.
Now you can run Urbit for the first time. Run the below command, replacing ames_port with a public port number between 49152 to 65535, sampel-palnet with the name of your planet, and sampel-palnet.key with the name of your keyfile.
./urbit -p ames_port -w sampel-palnet -k ./sampel-palnet.keyArvo, the Urbit OS, now creates a directory called sampel-palnet/ and begins booting your planet and establishing connections with the P2P network. When that's finished, you'll see Dojo, the Urbit command line:
~sampel-palnet:dojo>Welcome to Urbit! You can skip ahead to log in, or stick around for some tips.
4. Tips
Check out the cloud hosting guide for tips on improving the environment for Urbit, with a particular focus on establishing your domain name and using SSL for encryption.
Shut down your planet by typing Ctrl+D into Dojo.
To boot your planet up again, run the following command, once again replacing ames_port with the port you used previously, and now referencing your planet's folder.
Your planet's folder, sampel-palnet/, is called your pier, and it holds all your data. If you want to migrate your data from one system to another, you must bring your pier.
You should also delete your keyfile from your remote system to prevent yourself from using the same key twice, which will cause communication problems with other planets.
rm ./your-keyfile.key5. Log in
First, use your browser to navigate to the URL+port where your ship is running. This could be an IP address or a fully-qualified domain name, depending on how you set yours up.
Instead of a static password, Urbit uses an Access Key, which is given by your ship itself.
Open up the Urbit CLI again if it's not still running, and enter +code. The output is your Access Key, which you need to copy and paste into your browser. Click Continue to finish authentication and log in.
Next steps
Learn how to get around your urbit.